KITCHEN
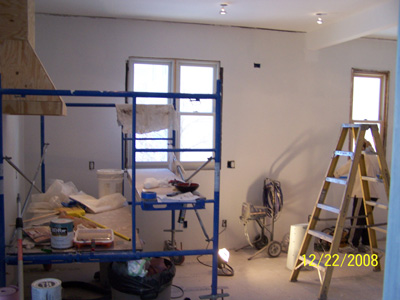
I am so glad I was pregnant the entire 6 months during this project. It gave me a bit of a break.... no, please don't think I did not help at all. Remember, after all I am the "painter". So equipped with a mask, I was still standing on the scaffolding, painting the crown, walls, ceiling and yes, with my huge belly in tow.
So it really was up to Burt to get this room finished (well, no wonder it took 6 months hahaha).
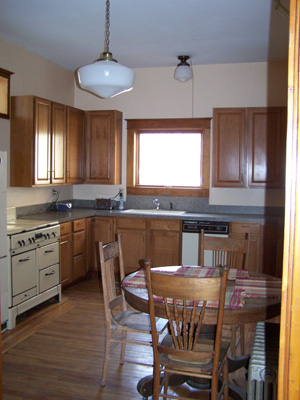
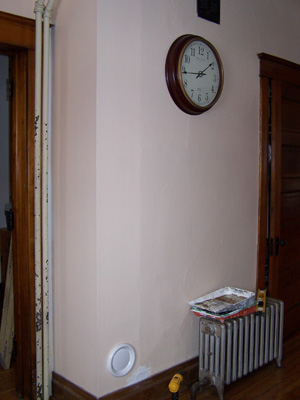
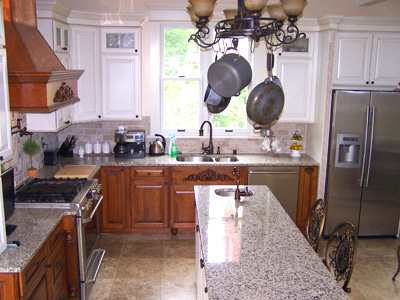
Facing East.
The kitchen was equipped with an old 6 burner stove that leaked gas. You had to use a shut off valve when you were done cooking, otherwise the whole kitchen would fill up with gas. The dishwasher was actually a non functional unit not even connected. The found the $10 garage sale sticker when we pulled it out. The major problem was that it was the coldest room in the house.
The kitchen was listed with newer cabinets, however we found they were actually recycled from a different house that was being renovated. To kill two birds with one stone, we decided to re-install them in the upstairs laundry room and convert it into a kitchenette. And we did just that. That was our kitchen during the main remodel.
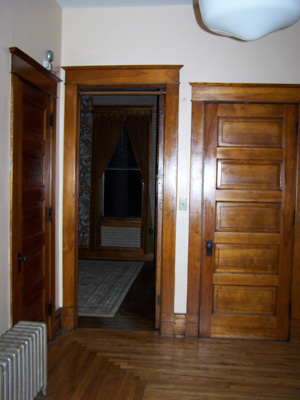
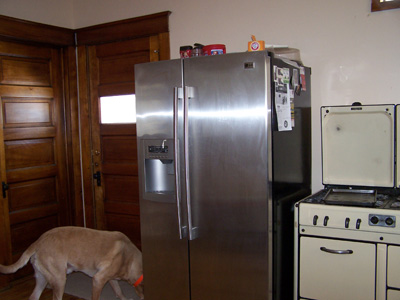
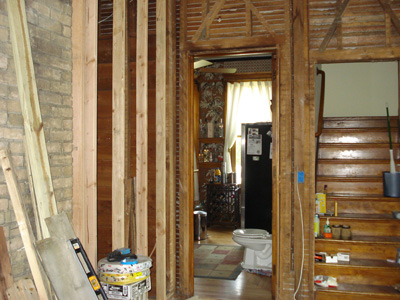
This is a panoramic picture of the West end. Can there be any more doors on this side? 5 total! Right to left ....broom closet, Parlor door, door to upstairs, door to basement, door outside. Broom closet was going to merge with the powder room, Parlor door to remain, upstairs door to be removed and the opening height made larger, downstairs door to remain, outside door to be replaced with 8' tall double french door.
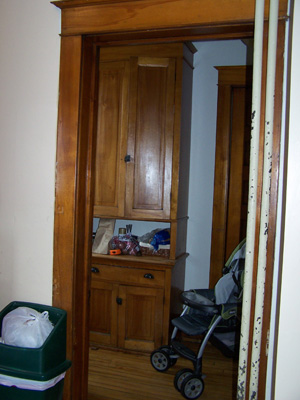
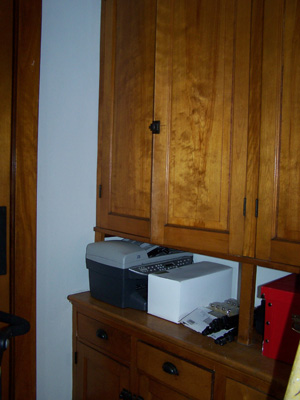
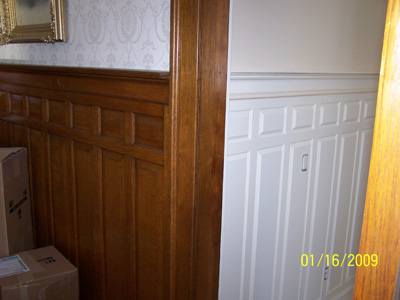
Butlers Pantry Facing South
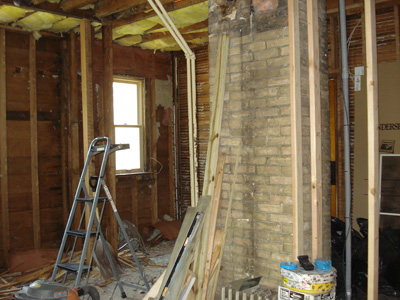
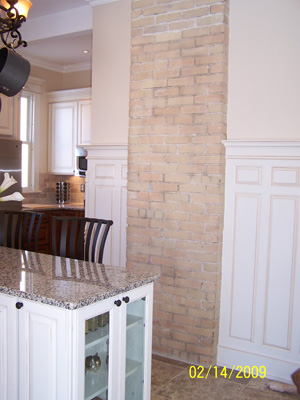
Chimney Facing South
DEMO
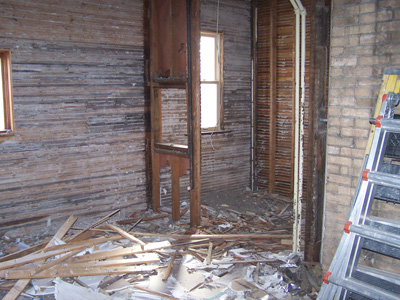

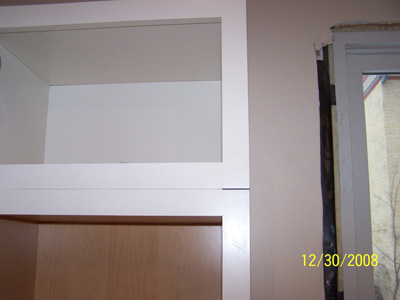
Notice the wood lathe still on the exterior walls. 3/4" thick, tongue and groove, nailed with railroad spikes in every stud every 3 inches. On the left picture you can see the wall that has the square opening framed out. That wall was once the exterior corner, a staircase on the exterior came up to the back of that access panel and they would put the ice in the rear of the ice chest. After the invention of the refrigerator, the room was expanded this additional 4' with a crawl space underneath. This wall was in the way of where our refrigerator would go and will be important later.
A complete gutting was necessary down to the floor joists. The floor had a pretty serious slope.
We originally were planning to keep the butler pantry cabinets intact, but we needed the extra space to expand the kitchen. The cabinets and doors were re-used in making some small furniture cabinets, window mantels, trim boards and etc....
DURING
Facing East. We found out the single 2x4 behind the step ladder going to the butlers pantry was load bearing holding a corner of the second floor and the roof.
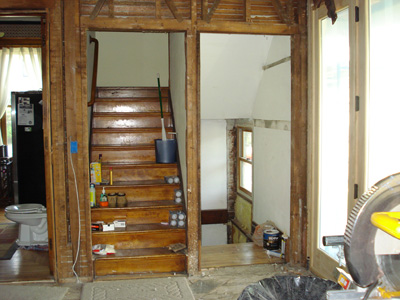
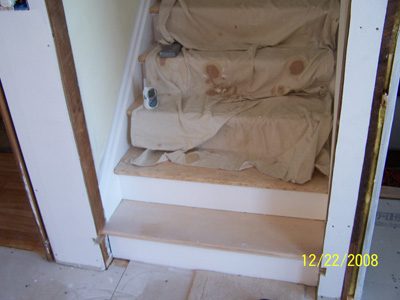
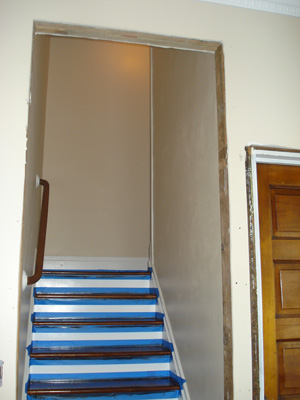
Broom closet Walled in and all doors removed. We liked the stairs being open. It was always very cold and dark in the rear staircase, and it was hard to open a door while standing on the third step. The door knob was at your knees. Notice the window in the staircase down to the basement, it used to be the rear door before the garage was added on.
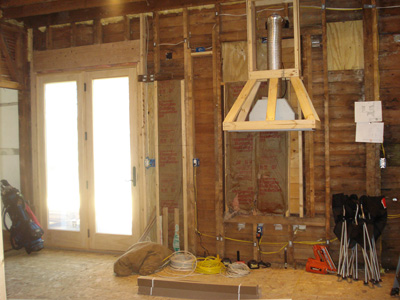
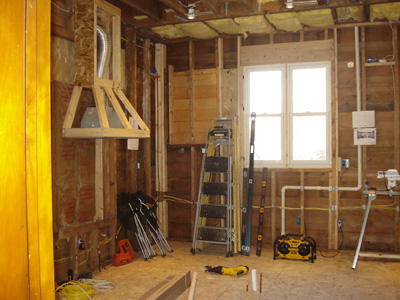
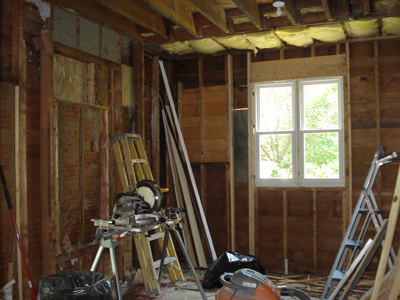
Facing North. Facing East. New plywood Sheathing on the floor after the joists were shimmed and shaved. New patio doors and windows installed. Notice all the old doors and windows that were framed in over the years. Since this was the coldest room in the house we added radiant floor heating and tied it into the existing boiler.
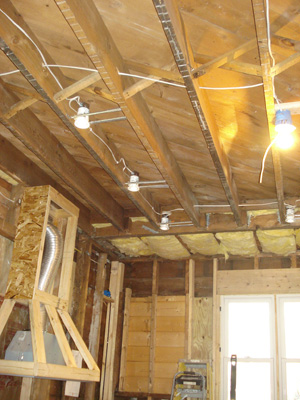
Notice the beam in the ceiling. The access panel wall ended up being the load bearing
Notice the 5 foot addition where the insulation is. Above that is a flat tin roof. Had budget allowed I would of spray foamed the walls and small ceiling section.
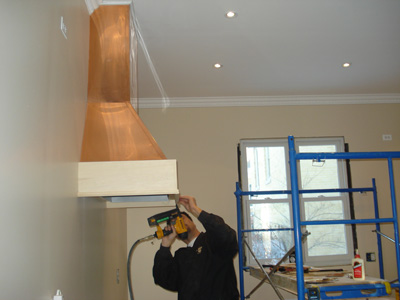
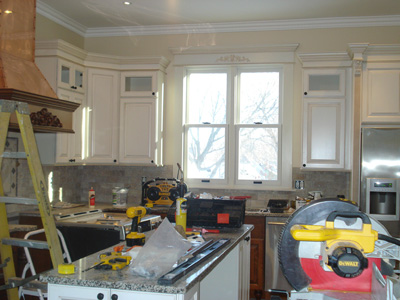
Here you see me building the first hood prototype. Lets just say the staining did not match the cabinets very well and there was a second prototype you see on the right. Lets add some crown moulding........to everything. Burt
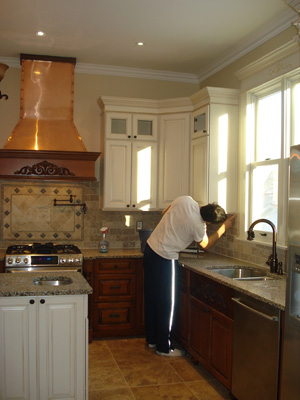
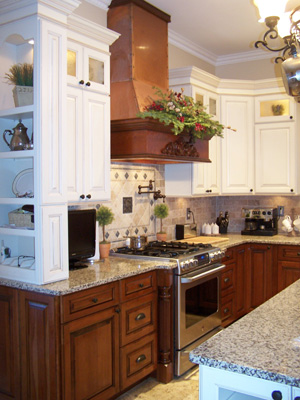
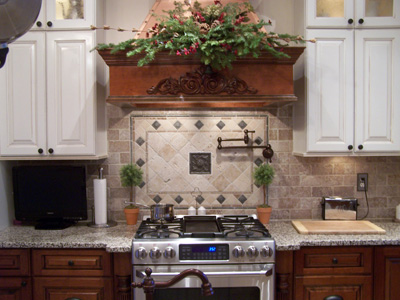
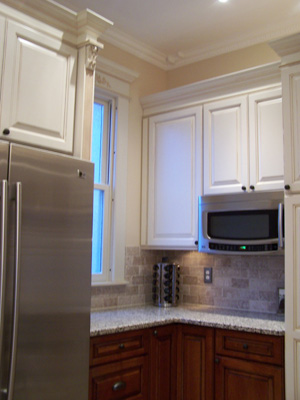
AFTER

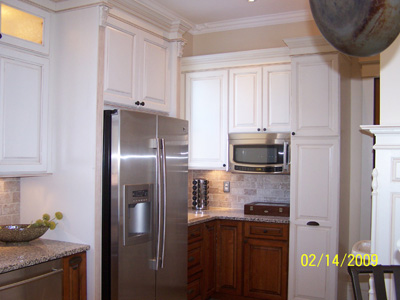
BACK TO INTERIOR REMODELING